Our DIY Fish Extender tutorial probably won't be featured in Better Homes & Gardens. But we're still proud to present our No Sew, No Risk and No Headache tutorial on how to make a fish extender for Disney Cruise enthusiasts.
Our DIY guide is much more kid-friendly than those you'll find from the hardcore crafters. You'll spend more time customizing your fish extender than cutting patterns, taking measurements, and sewing pockets.
While we're not winning crafting contests, we're also not buying a completely finished product on Etsy. We like to think of this process as a happy median between Martha Stewart and Kim Kardashian's potential solutions.

Option #1: Make it from Scratch
Option #3: Buy it pre-made (Etsy, Amazon, etc)
Option #2: Customize a "naked" fish extender
We choose Option #2 for various reasons. Here are some of the benefits of our DIY Fish Extender guide vs others.
Great Way to Build Anticipation
Making a FE is a great way to build anticipation for your cruise. It's also a wonderful opportunity to bond with the kiddos. They'll be proud to mount their homemade craft as soon as they board!
Benefits of Quasi-DIY Option
- Kids can participate: Making a fish extender should be fun. We want it to feel more like a kid-friendly arts & crafts project than a chore for mom or dad. We like to think of our guide as the "Mr Potato Head" spinoff. What kid doesn't love MPH?
- It's your cheapest option: We know how much you spent on your Disney Cruise . We get it and feel your pain. Below, you'll find the most economically conservative (cheapest) way to prepare for your Fish Exchange.
- We don't have the time: Between our endless chores, there's little time to be sewing fabric. Embrace 2020 and take a shortcut with us. We skip to the fun part in our no-sew method found below.
- Simplicity is key: It'll be tough to mess things up following the directions below Trust us, if we can do it even dad can handle this tutorial.

HOW TO MAKE A DISNEY FISH EXTENDER
Hopefully you're sold by now. If so, here's your cheater's guide on how to make a Disney Fish Extender.
Follow the steps below. We've eliminated as much of the risk and skill required by the other tutorials you'll find around the web!
You'll find our DIY guide shockingly simple. The first major step is to get your "blank canvas." By that, we mean the actual fish extender holder that will hang outside your cruise cabin door.
There are a few considerations you'll want to make here.
What pattern should I use for my fish extender?
You'll find many options for patterns, including elaborate designs, characters, and colors. We prefer our hanger to be simple. We like a "blank canvas" but with Disney-like colors. We want to apply the frills and add-ons.
What dimensions should my fish extender be?
We recommend a width of roughly 12 inches and length of 20 to 30 inches. There are no specific measurements required of fish extenders. You'll want it to be large enough to hold all goodies, but also compact enough for easy travel.
Where can I buy my basic fish extender?
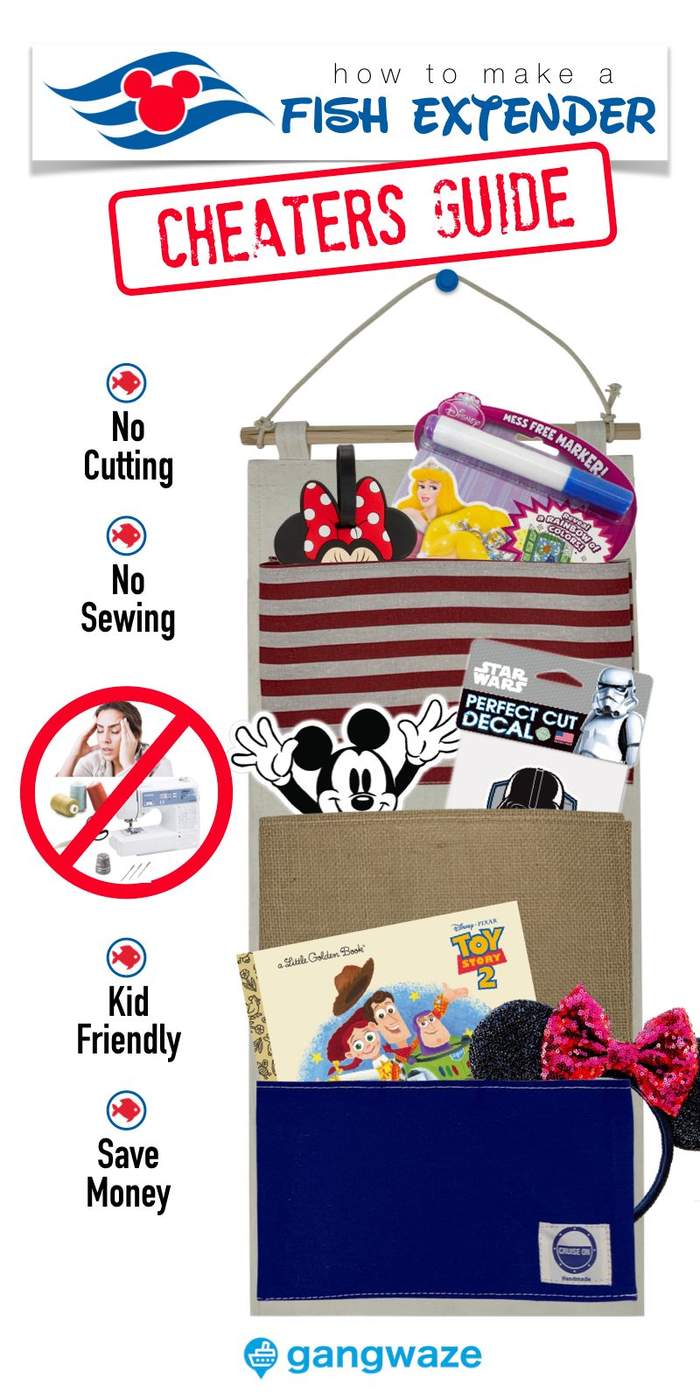
You'll find many options on Etsy, but these are all decorated and "completed" products. We've tested a number of hanging organizers purchased on Etsy and Amazon and have found the perfect one. This Fish Extender on Amazon is made specifically for the Fish Exchange program and ideal for travel. See the picture below.
Disclosure: We know the company, Cruise On, and are huge fans of their Cruise Accessories line of products.
While that's getting delivered, you can move on to Step 2 of our tutorial.
When decorating your Fish Extender, you can get more or less crafty with the adornments. It's completely up to you! It'll likely also depend on your kids' ages how ornate are these decorations.
Below, you'll find a few options for acquiring the supplies to decorate your item.

Get crazy with your FE decorations. Here are just some of your many options for decorating, but don't let these hold you back! Often the best items are randomly found in toy boxes, knick-knack drawers, and crafting kits.
- Pins
- Bows
- Ribbons
- Rubber Bands
- Yarn
- Puff Paint
- Glitter
- Tassels
- Cotton Balls
- Felt
- Patches
- Buttons
- Pipe Cleaners
- Beads
Now the fun part. Gather the family for "arts & crafts" time. Make it an event! We like to lay out all of the decorations in an assembly line. The kids move from each station to the next as they customize their section of the FE. We assign each kid a specific pocket of the fish extender to make their own.
Just keep in mind that you'll need to pack up the item. Make sure the decorations can be easily folded up and packed in your cruise luggage. Otherwise, there could be some sad kiddos if you unpack the FE and the items are crushed or have fallen off. Trust us, you'd rather not be doing more arts and crafts work once on board!
We recommend the DIY Fish Extender event take place the week before your Disney Cruise. It really helps to build anticipation and start the vacation in advance.
Most importantly, have fun with the project! Fight the urge to fix your kids sloppy glue job or to straighten up their ribbons. They'll be so proud of their little, personalized pocket of your new Disney Fish Extender.
Bonus Disney Cruise Prep Event: after you've joined your Disney Exchange Group, learn about your recipients. Spend some time finding the perfect presents based on age, interests, etc. Also consider using the same decorations to wrap these FE Gifts.
We have a great post to help you find the perfect Disney Fish Extender Gifts here.
We hope this has helped you make the most of your Fish Exchange Experience. Please use the buttons below to help share this with your favorite Disney Cruise Community!


